If you’ve scheduled black mold testing for your Tampa Bay home — or you’re considering it — knowing what actually happens during the appointment can help you prepare, ask the right questions, and feel confident in the results. Professional testing isn’t a quick walkthrough with a flashlight. It’s a structured, scientific process designed to document conditions, collect defensible samples, and give you lab-verified answers you can act on. Here’s what the process looks like from start to finish.
Step 1: The Pre-Inspection Interview
Before any equipment comes out, a licensed mold assessor will spend time asking questions. When did you first notice a problem? Have there been any water leaks, roof issues, plumbing failures, or storm-related intrusions? Is anyone in the home experiencing respiratory symptoms, headaches, or unexplained fatigue? Have you seen visible staining, and if so, where?
These questions aren’t filler — they shape the entire inspection. Black mold testing is most effective when the assessor understands the property’s history and the specific symptoms prompting the visit. Mentioning a leak from two years ago, for example, might redirect attention to an area the assessor would otherwise have skipped.
Step 2: The Visual Inspection
Next comes a systematic walkthrough of the property. The assessor examines bathrooms, kitchens, laundry areas, HVAC closets, attics, and any rooms with a history of water exposure. They’re looking for visible staining, discoloration, warped materials, efflorescence on masonry, musty odors, and signs of past or present moisture intrusion.
In Tampa Bay homes, special attention goes to flex ductwork running through hot attics, flat or low-slope roof areas prone to ponding, window and door frames where wind-driven rain can penetrate, and any space where condensation collects during summer humidity.
Step 3: Moisture and Temperature Mapping
This is where the technology comes into play. Professional-grade moisture meters measure dampness trapped inside drywall, wood framing, and flooring — readings that can confirm active water intrusion even when surfaces appear dry. Infrared thermal imaging cameras reveal temperature anomalies behind walls and ceilings, pinpointing hidden moisture pockets invisible to the naked eye.
Hygrometers track indoor humidity levels in each room. In Florida, levels above 60 percent indicate conditions that actively support biological growth. Together, these tools create a moisture map that guides where samples should be collected during the next phase of black mold testing.
Step 4: Sample Collection
With moisture data in hand, the assessor decides which samples to collect and where. Most black mold testing involves a combination of methods.
Air sampling uses a calibrated pump to draw a measured volume of indoor air through a spore trap cassette, capturing airborne particles for lab analysis. Samples are typically taken from areas of greatest concern along with a mandatory outdoor control sample collected simultaneously. The outdoor sample establishes the baseline spore levels for your Tampa Bay neighborhood that day, which is essential for accurate interpretation.
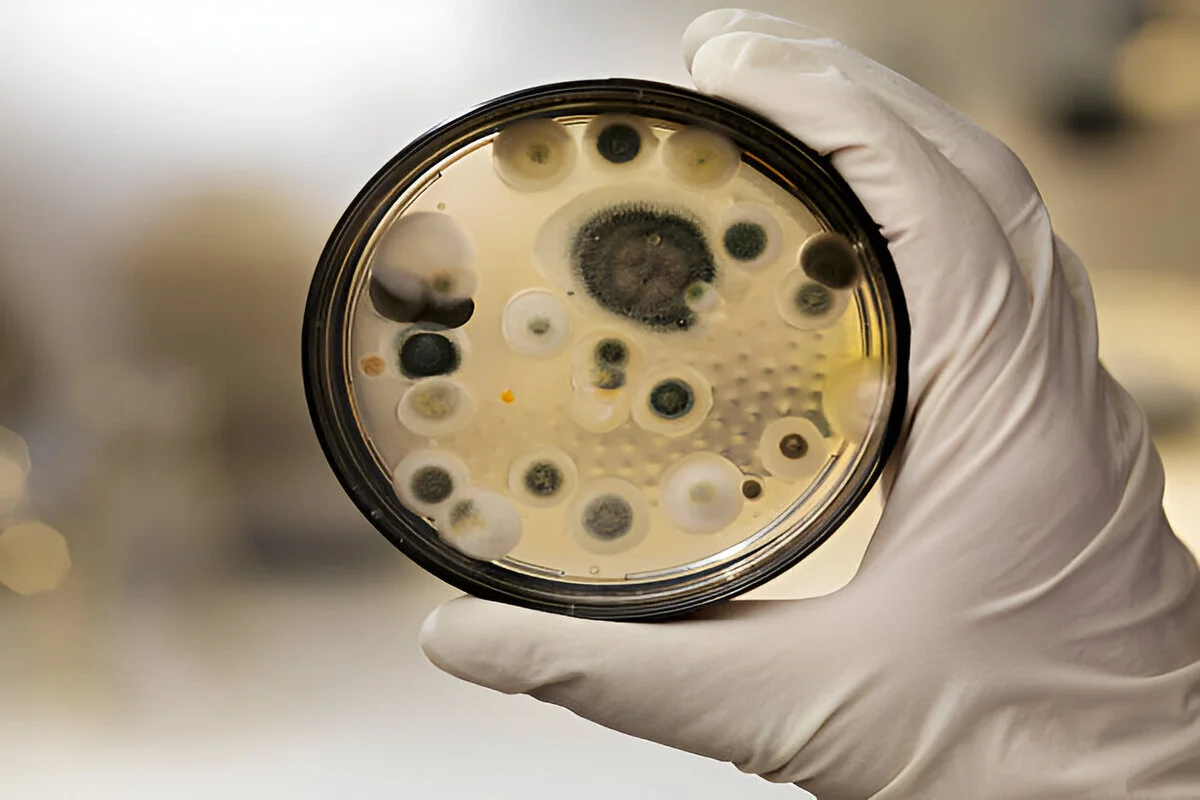
Surface sampling uses swabs or tape lifts pressed to suspect growth — a ceiling stain, discolored grout, visible fuzz behind a cabinet. These samples confirm whether discoloration is actually mold and identify the exact species present, including whether Stachybotrys chartarum is involved.
In-wall cavity sampling may be recommended when moisture readings are elevated but no visible growth exists on the surface. A small probe draws air from inside a sealed wall, capturing spores before they become airborne in the living space.
Step 5: Laboratory Analysis
All samples are shipped to an accredited third-party laboratory — not analyzed in-house. This independence is critical for accurate, defensible results. Lab technicians examine each sample under microscopy or through culture plating, identify the specific mold species present, and quantify spore concentrations. Results are typically available within two to four business days, though rush processing can deliver them within 24 hours for an additional fee.
Step 6: The Written Report
Within a few days of the lab completing its analysis, the assessor delivers a comprehensive written report. A thorough black mold testing report includes annotated photographs of every area of concern, detailed moisture readings mapped across the property, laboratory results with species identification and spore counts compared against outdoor baselines, a clear interpretation of what the data means in plain language, and — if contamination is confirmed — a written remediation protocol outlining the scope of work needed.
Step 7: Follow-Up and Next Steps
A qualified assessor will walk you through the report in person or by phone, answer questions, and explain the findings. If remediation is warranted, the report becomes the blueprint a licensed mold remediator follows. After cleanup is complete, post-remediation clearance testing — another round of sampling — verifies that spore levels have returned to normal before you consider the project finished.
In Tampa Bay’s humid climate, professional black mold testing is the only way to move from uncertainty to a clear plan. Understanding the process helps you recognize quality work when you see it — and get the answers your home and health deserve.