Setting up an inviting outdoor space feels intuitive until the first delivery truck rolls up and you realize your patio measurements were more optimistic than accurate, or the cushion fabric you loved fades to a dull shadow after one hot summer. Outdoor rooms follow a different logic than interiors, because wind, rain, sun, and shifting temperatures all vote on how long an investment will last. That is why a methodical approach beats impulse buying every single time. This walkthrough breaks the process into practical steps you can work through over a weekend of planning. You will start by measuring and mapping your space, move through material selection with weather in mind, arrange pieces around how you actually live outside, layer in shade and lighting, and finish with a care rhythm that extends everything by years. The goal is not a picture-perfect showroom look. It is a durable, comfortable setup that welcomes you outside on a quiet Tuesday morning as easily as it hosts guests on a busy Saturday night.
Step One: Survey the Space Before You Shop
Before browsing a single catalog, spend an hour with a tape measure and a notebook outside. Sketch the shape of your patio, deck, or lawn area, noting doorways, steps, raised planters, and the arc of any gate that swings across the ground. Measure the width of every threshold that furniture must pass through on delivery day, including hallways inside the house if pieces enter that way. Missing this step is the most common source of returns, and it costs nothing but a little attention. Next, track the sun. Sit in the space at morning, midday, and late afternoon on a clear day and mark where shade falls and where direct light lands. This map will quietly determine almost everything downstream, from the fabrics that hold up to the placement of dining zones versus lounge zones. Full-sun corners bake and fade fast, while heavily shaded spots collect dampness and encourage mildew.
Also study wind patterns and prevailing breezes over a few different days. A corner that seems tucked away might funnel gusts strong enough to send lightweight chairs skidding across the deck, while a spot that feels exposed on paper might sit surprisingly calm thanks to a nearby fence or hedge. Note the direction of any rain runoff from gutters, downspouts, or roof valleys, since furniture placed under a drip line will absorb far more water than it ever should. Watching the space in real conditions for even one weekend reveals patterns that no floor plan can predict, and it costs nothing beyond a bit of patience.
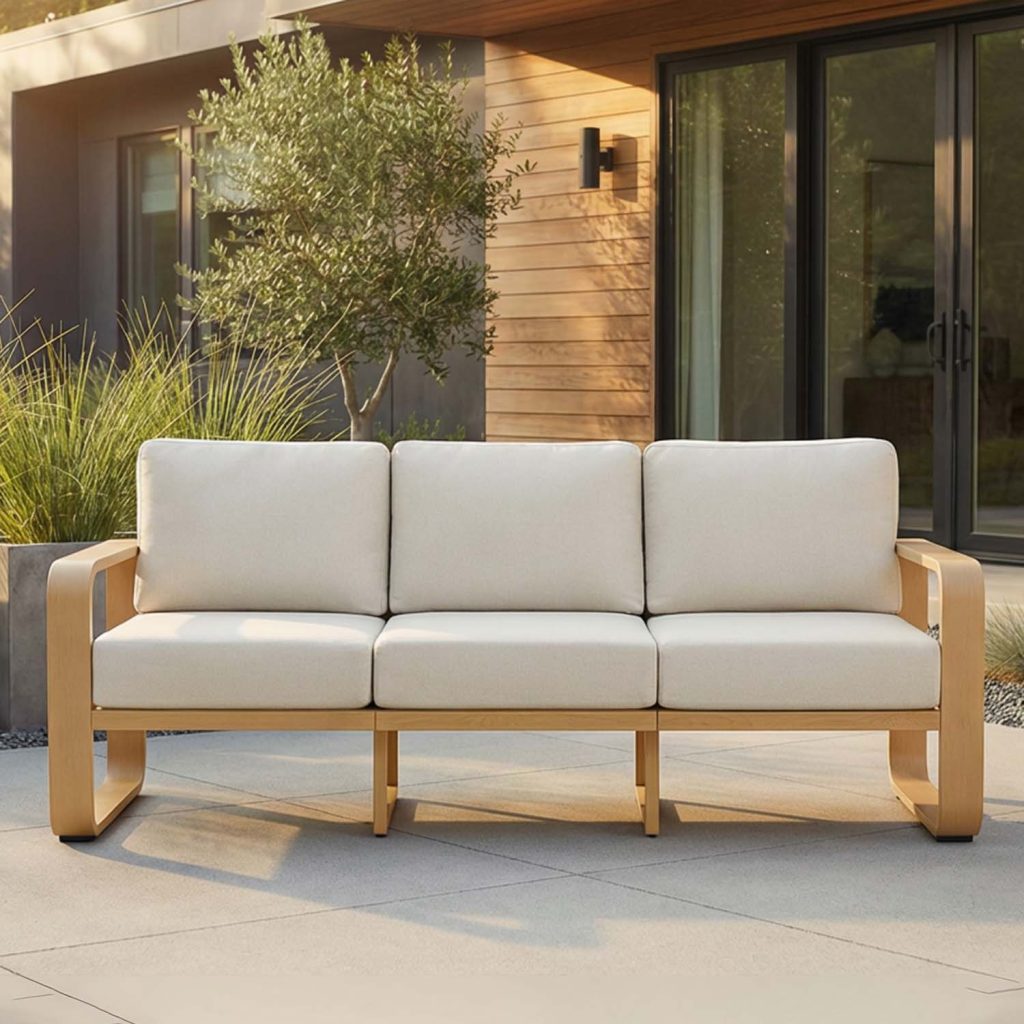
Finally, define the activities the space needs to support. A quiet reading nook needs different geometry than a dining setup for six or a firepit gathering. Choosing a versatile core piece from a well-curated outdoor furniture collection designed for modular arrangement gives you flexibility to reconfigure as needs shift through the seasons. Write down the top two or three activities and let those priorities guide every purchase that follows, resisting the pull of pieces that look striking but serve no clear role in the way your household actually spends time outside. Think through a typical week and a typical hosting weekend separately, then look for overlap. The pieces that serve both scenarios are the ones worth investing in first, while single-purpose statement items can wait until the core is settled.
Step Two: Choose Materials Built for the Elements
Material selection is where outdoor pieces separate from indoor pieces in every meaningful way. Aluminum frames resist rust, stay light enough for easy repositioning, and handle salt air well, making them a strong default for coastal or humid climates. Teak and eucalyptus offer natural weather resistance and age gracefully into a silvery gray patina if left untreated, or hold their warm tone with periodic oiling. Powder-coated steel delivers welcome heft and a modern silhouette but demands vigilance for chips that expose the metal underneath. All-weather wicker woven from high-density polyethylene resin holds shape and color through UV exposure far better than natural rattan, which belongs strictly on covered porches. For cushions and upholstery, the fabric label matters far more than the surface pattern. Solution-dyed acrylics resist fading through hundreds of hours of direct sun and shed water rather than absorbing it. Cheaper polyester blends may look identical in a showroom but lose color and softness within a single season. Always check whether cushion cores use quick-dry open-cell foam or standard closed foam that traps moisture and never fully dries.
Climate should drive material priorities more than aesthetics. Hot, arid regions punish anything with a dark finish that absorbs heat, so lighter tones and reflective surfaces stay comfortable to touch at midday. Freeze-thaw climates crack ceramic tabletops and stone surfaces if water seeps into hairline pores and expands overnight, so lean toward wood, metal, or resin composites in these zones. Coastal properties face relentless salt spray, which chews through untreated iron and even some grades of aluminum, making stainless hardware and marine-grade coatings non-negotiable. Humid, wooded lots invite mildew and insect activity, so ventilated designs that allow airflow underneath cushions and around frame joints outperform dense, boxy silhouettes that trap moisture.
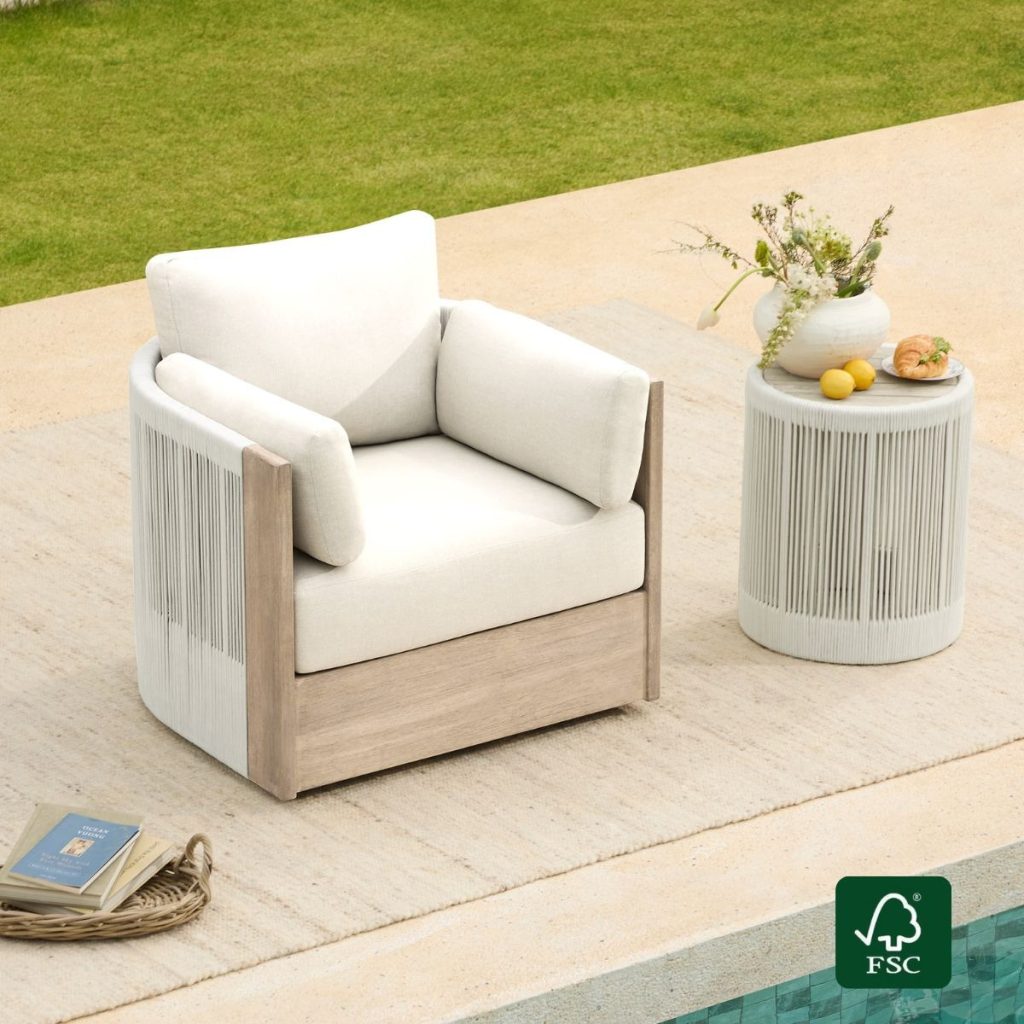
Certifications add another layer of quality signal. Wood pieces carrying an FSC label confirm the timber was harvested from responsibly managed forests, which matters both ethically and often correlates with better-quality lumber. Look for hardware rated as stainless or marine-grade, especially on hinges, screws, and joinery, since these small components are usually the first parts to corrode and compromise structural integrity. Match materials to the exposure map you built in Step One. A gorgeous piece in a punishing location becomes a maintenance burden fast, while the same piece thriving under a covered porch might quietly last a decade. Let placement inform the spec sheet, not the other way around.
Step Three: Plan the Layout for Real-Life Living
With materials narrowed, sketch furniture placement to scale using your measurements from Step One. Grid paper works fine, but a simple floor-planning app can also help you drag pieces around before you buy. Aim for conversation zones where seats face each other within roughly eight feet, close enough for easy talk but far enough to feel relaxed. Leave at least a three-foot walkway around perimeters and between groupings so people can move without shuffling sideways or knocking a shin on a coffee table corner. Anchor each zone with a single defining piece. In a lounge area, a low sofa or a pair of deep lounge chairs establishes the shape, and side tables fill the gaps for drinks and books. In a dining zone, the table is the anchor, with benches or chairs sized to leave elbow room and enough clearance for chairs to pull back without hitting a wall or planter.
Layouts for gatherings deserve a separate pass. When hosting more people than daily seating supports, the space should absorb overflow without feeling crowded, so plan for one or two lightweight stools or folding chairs that tuck away between events. Position the main seating so guests can flow between the dining zone, the lounge zone, and the door back into the house without crossing awkward paths. If a firepit or grill lives in the space, keep at least a four-foot radius clear of upholstered pieces to protect fabric from stray embers and heat radiation. Traffic circles gently around gathering hubs rather than cutting straight through them, and small side tables scattered among the seats give every guest somewhere to set a glass without leaning forward.
Step Four: Layer In Shade, Lighting, and Vertical Interest
Consider vertical elements as carefully as the seating itself. An umbrella, a pergola, a shade sail, or a strategically placed tall planter provides both cover and visual weight, keeping the eye engaged and the seating area many degrees cooler on hot afternoons. Retractable umbrellas offer flexibility across the day, while a fixed pergola with climbing vines delivers permanent structure and softens hard architectural lines over time. Match shade coverage to the sun map from Step One, prioritizing dining zones where guests linger for meals and any lounge chair positioned for reading, since squinting under direct glare turns a beautiful setup into an unused one.
Rugs designed specifically for outdoor use ground the arrangement and soften hard surfaces underfoot, and they hold up to rain when made from polypropylene or similar synthetic weaves. Layered lighting, whether string lights strung between posts, a lantern on a side table, a wall-mounted sconce near the door, or solar path markers along the walkway, transforms the space after dark and often gets forgotten until the first cool evening arrives. Aim for warm color temperatures around 2700K, which flatter skin tones and feel inviting rather than clinical. Before you place any order, test the arrangement with painter’s tape on the ground. Walk through it, sit in imagined spots, and picture dinner guests arriving through the gate. Small adjustments at this stage save weeks of second-guessing later and quietly confirm the shopping list before you commit.
Step Five: Care for Every Season
A weekly cleaning habit does more than any single upgrade to extend the life of outdoor pieces. Wipe down surfaces with mild soap and water, rinse thoroughly, and let everything dry completely before storing cushions back on frames. Trapped moisture between cushion and frame is where mildew begins its slow, discoloring work. Rotate cushions periodically so the same side does not face the sun every day, which evens out fading across the set. For deeper cleaning, most solution-dyed fabrics tolerate a diluted bleach solution, but always spot-test in a hidden corner first and rinse thoroughly, since residual cleaner can attract dirt or degrade fibers over time. Zippered covers that unzip for washing simplify this enormously, and pillow inserts made from quick-dry fill bounce back after an unexpected shower rather than staying soggy for days.
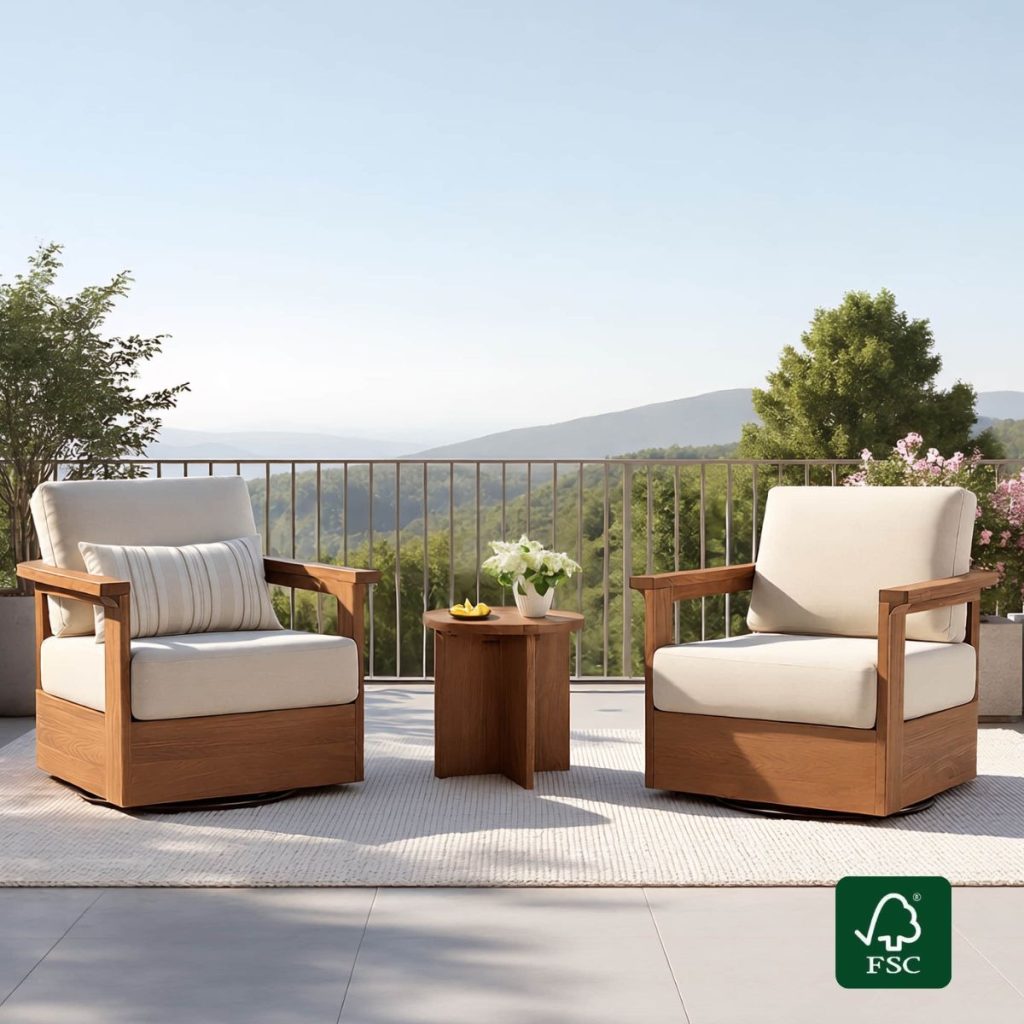
For seasonal transitions, plan storage before the first hard freeze or the extended rainy stretch you know is coming. Cushions and pillows should move indoors or into a dry, ventilated bin at season’s end, even if the frames stay outside under cover. A garage shelf, a basement corner, or a weatherproof deck box all work, as long as air can circulate around the stack rather than pressing damp fabric together. Wood frames benefit from a light annual sanding and a fresh coat of teak or hardwood oil if you want to preserve the original tone rather than let it silver. Metal frames should be inspected for chips at the start and end of every season, touched up with matching paint, and lubricated at any moving joint such as reclining mechanisms or folding chair hinges. Covers are worth the small investment, but only breathable ones. Waterproof covers without vents trap humid air underneath and can accelerate the damage they were bought to prevent. Look for covers with mesh vents at the base and secure them with straps against wind. Brands like CHITA LIVING often publish care sheets specific to each collection, and reading those notes tends to work better than guessing at the right cleaner or oil. Finally, keep a small kit stocked with a soft brush, mild cleaner, touch-up paint, spare hardware, and a few clean rags, so quick fixes happen in ten minutes rather than turning into weekend projects. Small consistent attention compounds into years of extra service.
Bringing the Plan Together
An outdoor room built this way, measured first, matched to materials, arranged around real use, layered with shade and light, and cared for in a steady rhythm, quietly becomes one of the most-used spaces in a home rather than a photogenic backdrop that sits empty most weeks. Each step in the sequence reduces the odds of regret and stretches the value of every piece you invest in. The tape measure and the notebook do more heavy lifting than the shopping cart ever will. Start with the space you actually have, not the space you wish you had. Choose materials your climate rewards, arrange pieces around how your household really spends time outside, and build a light-touch care habit before any real problems have a chance to start. Follow those five steps in order and the results tend to hold up through weather and years. The setup grows with you, from morning coffee alone to unexpected gatherings that spill onto the patio, ready every time the door swings open.
